Purpose:
This guide explains how to use the StreamElements chatbot to enhance engagement on Twitch and YouTube. It covers supported platforms, chat commands, user management, and additional features like timers, counters, and spam filters.
Prerequisites:
-
If you’re setting up the chatbot for the first time, follow these guides:
StreamElements offers a powerful and versatile chatbot designed to enhance engagement and interaction during your streams.
The main use of the chatbot is to let your viewers use commands to get more information or trigger specific actions. These are separated into default commands and custom commands.
Commands are grouped based on the required user level to run it. By default, commands are grouped into "Everyone", "Moderators" and "Super Moderators".
You can read more about chatbot commands in our Chatbot Commands Overview article.
User management
What is User Management?
User Management lets you give users special permissions by grouping them into user levels. All commands can be set to a specific user level, so you have full control over who can trigger each command.
What are all the different groups?
By default, viewers already have a specific user level depending on their role
| Group | Level | Description |
| Everyone | 100 | This is the basic level of every user in chat |
| Subscriber | 250 | Your twitch subs get this level |
| Regular | 300 |
You can set this level through user management |
| VIP | 400 |
Your twitch VIPs get this level |
| Moderator | 500 | Your twitch moderators get this level |
| Super Moderator | 1000 |
You can set this level through user management |
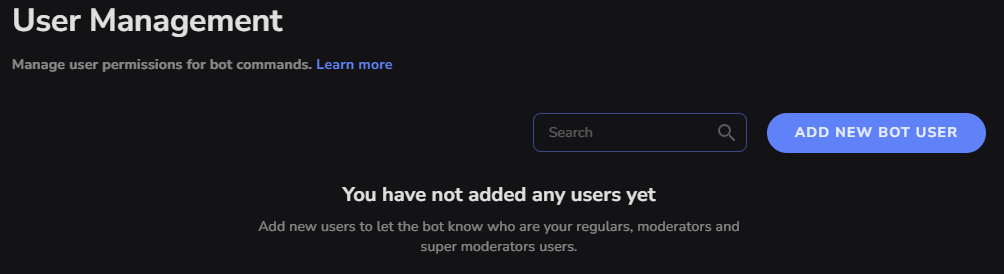
Adding a user through User Management
- Click "Add new bot user"
- Type their username, assign them to a group, and click "Add user"
Modules
Modules in the StreamElements chatbot allow you to enable or disable specific features
- Chat alerts: Read more about this module on our docs page.
- Roulette: Read more about this module on our docs page.
- Bingo: Read more about this module on our docs page.
- Raffle: Read more about this module on our docs page.
- Emote pyramids: Read more about this module on our docs page.
- Duel: Read more about this module on our docs page.
- Eight-ball: Read more about this module on our docs page.
- Slot machine: Read more about this module on our docs page.
- Emote combos: Read more about this module on our docs page.
- Live announcements: Read more about this module on our docs page.
- Viewer queue: Read more about this module on our docs page.
Timers
Timers are automated messages that appear in your chat at specified intervals. Set up timers to remind your viewers about upcoming events, social media links, or channel rules in the "Timers" section.
Read more about timers on our docs page.
Counters
Counters are an easy way to keep track of certain things in your stream. They can be used to keep track of how many times you've died in a game, or how many times you've missed a cannon minion in league of legends.
Read more about counters on our docs page.
Spam filters
Configure spam filters to block links, excessive caps, or repetitive messages in the "Spam Filters" section.
Read more about spam filters on our docs page.
Banned words
Create a list of banned words or phrases to automatically censor inappropriate language or content in your chat.
Read more about banned words on our docs page.
Settings